
STARBURST QUILT
PINEAPPLE QUILT
HUNTER'S STAR QUILT
CHRISTMAS WREATH WALLHANGING
CHICKEN OR THE EGG QUILT
This is actually the very first quilt I made. It's applique and I sewed it while I was away at Holland College studying Fashion Design.
It doesn't solve the age-old question of which came first, the chicken or the egg, but it does solve the question of what was the first quilt I made, lol

STARBURST QUILT
March 2013
I am presently working on a quilt for my Dad's birthday. Here's a graphic representation of the design. It's a quilting technique known as paper-piecing and while it gives VERY precise results, it can sometimes be tedious to do.
I did not design the basic block for this quilt but it is changed significantly from the original. I photographed the fabrics with my digital camera and pasted them into the quilt pattern using a graphics program.

This was so I could see what the finished quilt will look like without having to sew it and if I liked it, begin to cut and sew.

Here is a close-up of one of the 48 blocks that comprise the 12 larger blocks of this quilt.
I like it. So, let's proceed.
With paper piecing, you pin the fabric onto the unprinted side of the pattern paper and stitch with the lined side upward. You can either finish each block or do all one step at a time. I've chosen to do all one step at a time.

The more accurately you stitch, the more precise your finished quilt will be.

Once the first fabric piece is stitched all around, you place the second piece of fabric face down along the 'common side' (the line between the previous number and the next number) and stitch along that line.

Then you fold the second piece of fabric out across the space it is too fill and stitch it all around.

Here I have complete all the blocks up to the third last colour. The closer I get to having these blocks completed, the more anxious I am to get it finished, lol
March 13, 2013

All of the blocks are completed right up to the very last colour which I begin this morning, yay!
9:36pm
Final section of paper-pieced block ALL FINISHED! I really like the colours in this quilt. My Dad loves golden retrievers, so I incorporated them into his quilt.

March 14th, 10pm
That's one big stack of blocks. Now I have to remove the paper backing from each one ...

... a slow tedious process that gives new meaning to paper shredding, lol

This is what the back of the quilt block looks like with the paper pattern removed.
March 15, 9:30am

There are four of these blocks in each of the 12 larger blocks of this quilt. Here I am joining them two by two in a one long continuous string (so there's no wasting of thread or time snipping it inbetween each set of two blocks).

Accurate pressing is essential in quilt making (or any type of sewing) and since it's difficult to get a good press with a crappy iron, I got a good one. My steam iron is the ONLY type of shark you'll find in MY home, lol

It gives a VERY powerful jet of steam.

The finished quilt block. Now, eleven more to do ...
Mar 16 - 3:18pm
It's a woman's (and designer's) prerogative to change her mind, so I'm doing the borders n blocks of my Dad's quilt in different choices than first thought.
The blocks are all completed, today I finish the front of the quilt, or at least I hope to.

I've chosen the same denimy blue textured print that is in the pinwheel design for the bars between the blocks and a new print for the squares at the intersections.

Here I'm sewing the squares onto the bars.

Then I sew a bar onto the finished quilt block.

Here I'm sewing the rows of bars n blocks and blocks and bars together.

9:54pm - And here is the nearly finished quilt top. I have a border of the same burgundy print in the pinwheel to add all around the quilt, but that can wait till tomorrow.
Mar 17 - 6:21pm
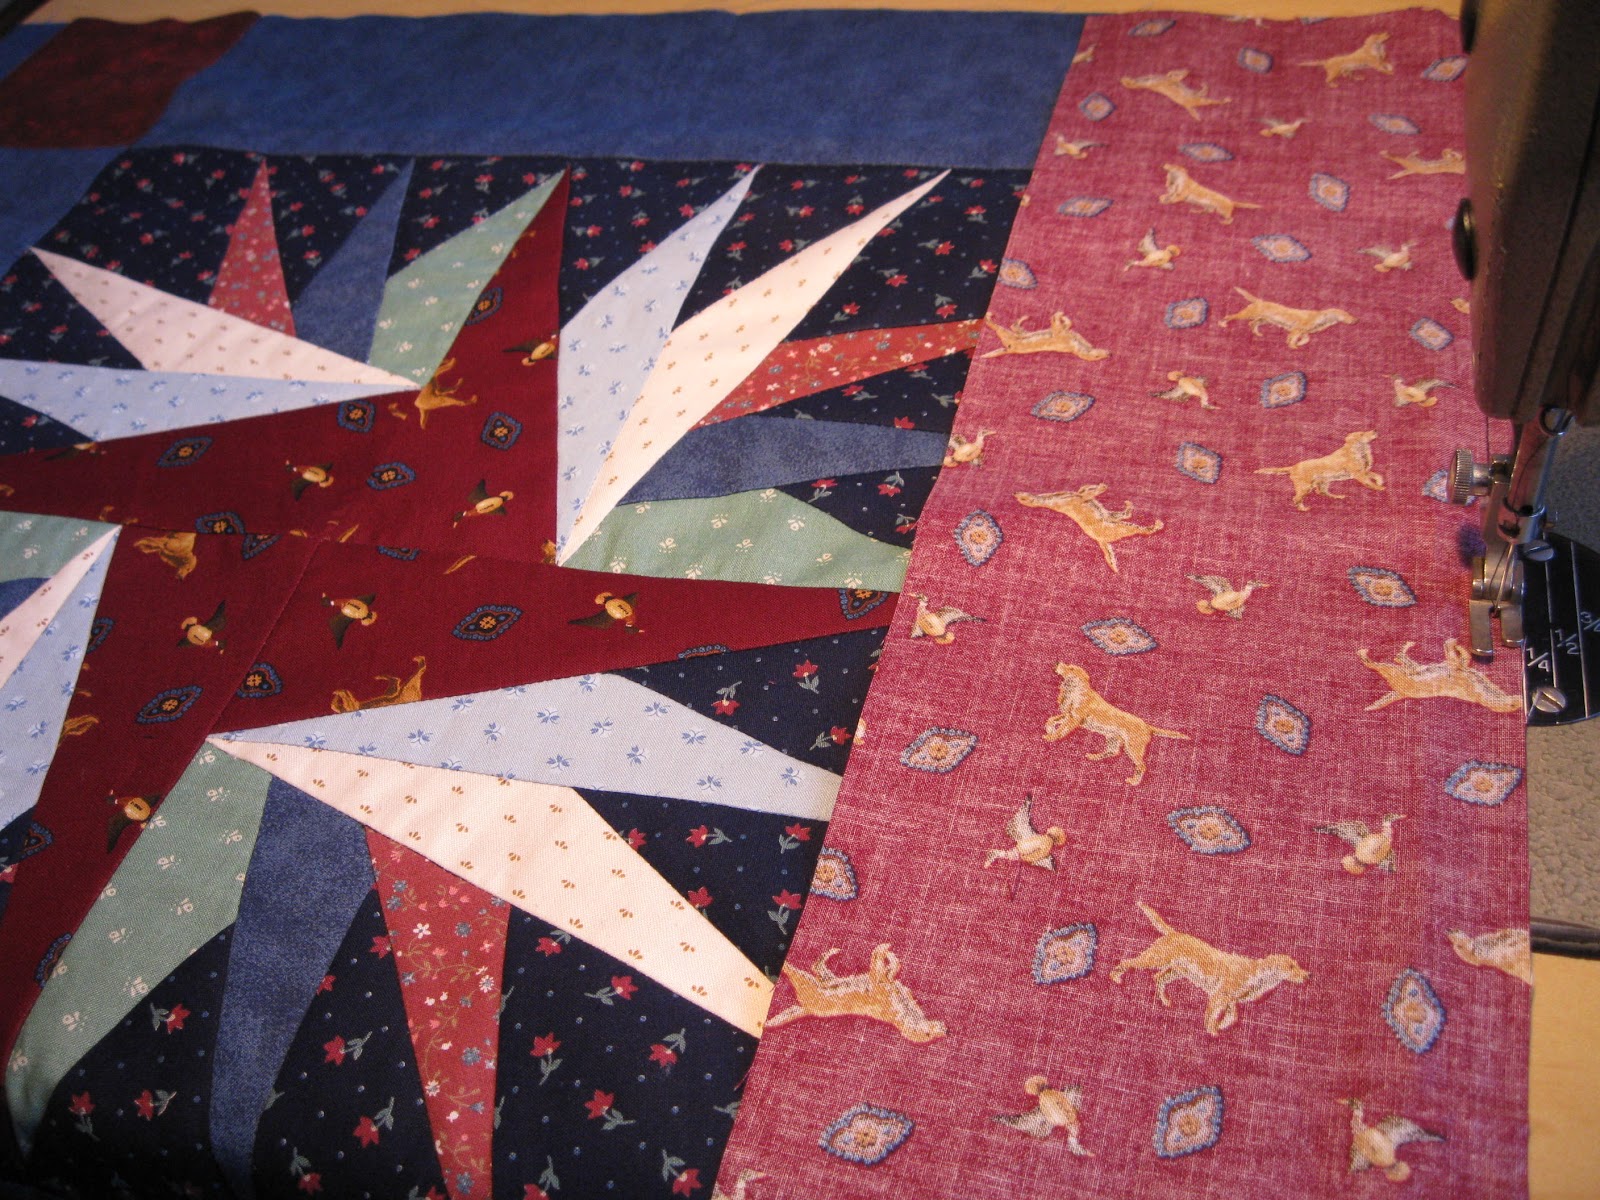
Here I'm adding the same golden retriever print that's in the starburst as a border to the sides ...

... and to the top and bottom.

And here's the completed quilt top! Now all I need to do is actually quilt it, lol
________________________________________________________
PINEAPPLE QUILT
April 2013
This quilt is to be a birthday gift for my elderly Aunt later this year in December.
Before beginning, I purchased a SewQuiet 5000 Servo Motor for myself (gift from Dad for my birthday) and it IS SO quiet, it's wonderful.
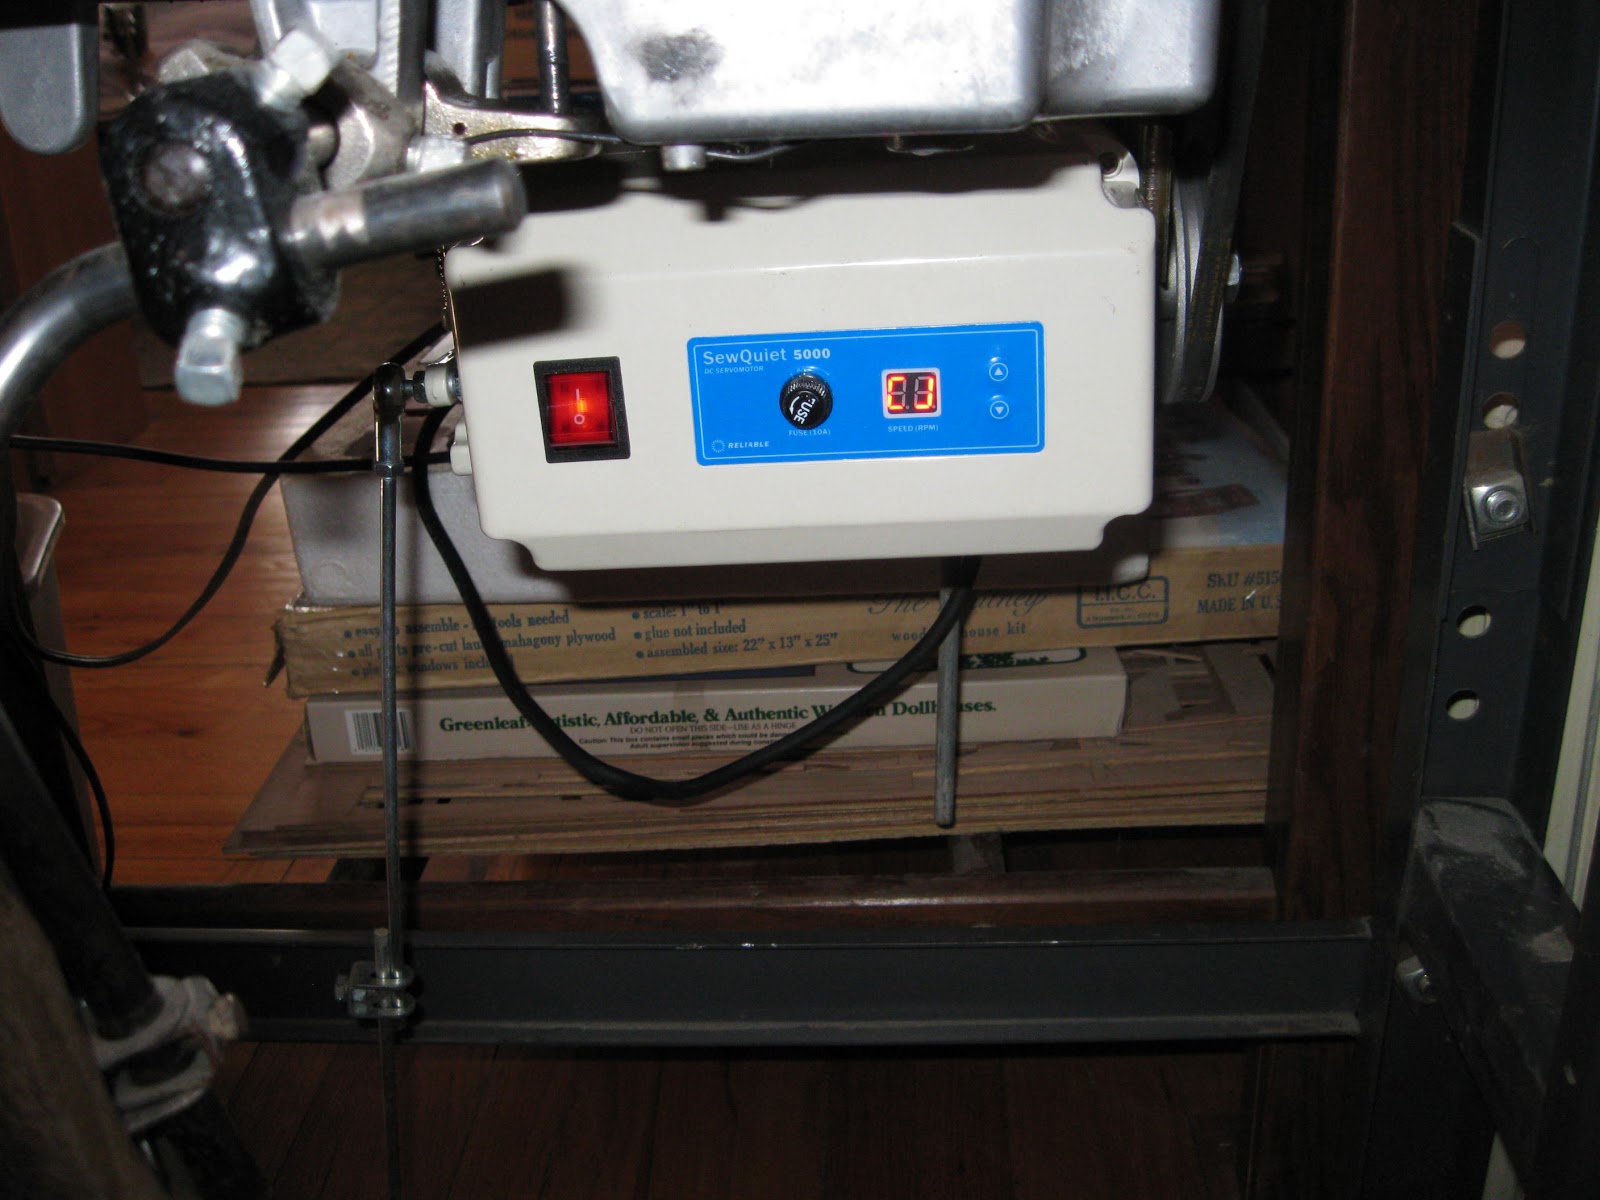
That horrible idling hum from the old 191D motor is GONE!

This quilt was also paper pieced. It used only three different fabric prints.

It's easier to paper piece if you cut rows of fabric SLIGHTLY wider than needed. They do not need to be cut overly large as some quilting manufacturers suggest, they just want to sell more fabric.

EVERY round needs to be trimmed before the next round is added. This keeps the quilt's seam allowances beautifully even.

Here I've added the next round on the previous round I just trimmed.

And here it is all trimmed.

To give you an idea of how much fabric a quilt really required, these piles of
pieces are for just ONE round.

Here I've finally gotten to the last two sections that need to be sewn on. After this, the paper backing needs to be removed.

And here are all 80 squares (four to a block) completed and paper free.

All 80 squares first need to be sewn along one side.

Then the blocks of two blocks are sewn into four blocks.

The blocks are sewn into rows and the rows into the finished quilt.

Even nicer with a border added around it.

After quilting the finished quilt tops together with batting and backing, a binding
is added all around.
All done and ready to be given as birthday presents!
________________________________________________________________
HUNTER'S STAR QUILT
May 2013
This massive quilt is for my own queen-sized sleigh bed.

While it's a simple pattern, it's mind-numbingly boring to sew.

It's just two fabric prints.

Because it would be too visually busy to make a quilt completely of the pattern, I chose to triple-border this quilt. Here is the finished quilt top before it was actually quilted.
It's a whopping 104" sq.

Here it is, all finished! It's actually reversible ...

I've backed this quilt with a sharply contrasting fabric. It's non-pieced on the back, but the lines of quilting make a nice textured pattern.
I like this fabric so much, a new quilt project is already forming in my mind.
________________________________________________________________
May 24th, 2013

Today is my Dad's birthday, so I finally get to give him his quilt
which, as far as I know, he doesn't know anything about yet.
The blue/green pineapple quilt is for his sister for her birthday which isn't for many months, but I am giving her her quilt today also.
_______________________________________________________________
CHRISTMAS 2013
I made this quilted project, the Rose Wreath wall hanging as a Christmas gift.
I chose a very nice Christmas quilt print for the holly of the wreath and squares of gold lame for the accents.

It is, of course, paper pieced.

Even at this early point, I knew it was going to be wonderful.

One of the finished blocks. The background fabric actually has little white flowers but they look like snowflakes.

Some assembly required, lol

All pieced together and ready to be quilted.

The finished wreath. So nice, I want to make another one for myself.
August 2014
I enjoyed my job, but the drive every day was too much and I prefer to determine my own workload here in my sewing room in St. John's.
It's been a while since I've been truly independent, looking forward to it.
No comments:
Post a Comment